Anti-crunch help
Cleaning the splint: effective means against deposits

Over time, deposits become visible on splints and braces
© AndreyPopov / Getty Images
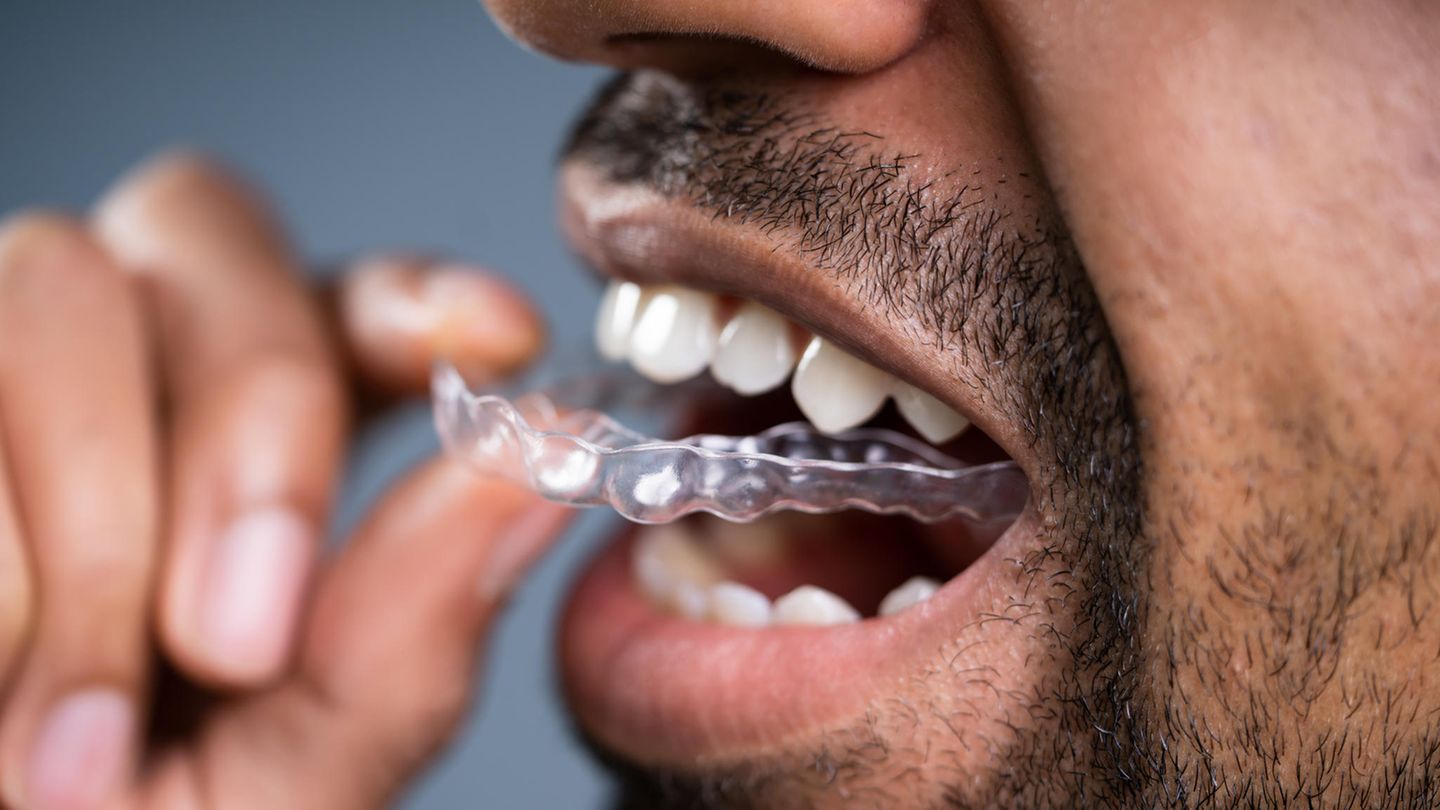
Headache and jaw pain are often the result of (nocturnal) gnashing of teeth. To alleviate the symptoms, more and more dentists are prescribing a so-called bite splint. Due to regular wearing, these can become discoloured over time – unsightly deposits become visible.
The denture-like splint made of plastic is intended to counteract excessive and incorrect loads in order to protect teeth and jaws – the crunch itself cannot be fixed in most cases, as it is often triggered by stress. Therefore, it is a pure treatment of the symptoms, but not the cause. The material and dental costs for an ordinary splint are covered by the health insurance. In addition, sufferers have the opportunity to have the dental arch tailored to them replaced every one to two years (depending on their insurance) with a new model. For example, when the splint has been chewed through in the truest sense of the word. However, if persistent deposits become visible on it, a replacement is not absolutely necessary. Instead, you can use the following tips if you want to clean your splint.
Therefore, it is important to clean the splint
If you wear your bite rail every night, visible residue is inevitable. In addition, these provide an ideal breeding ground for bacteria. To counteract slight discoloration, the plastic should be cleaned regularly – preferably every day. For this you need nothing more than your toothbrush as well as a mild toothpaste, which if possible does not contain any abrasives (as they could damage the splint). Then clean the material under running water. If the deposits are particularly persistent, they must resort to stronger (domestic)means.
Cleaning the splint: tips against deposits
Commercially available teeth cleaners (for example, the brand Kukident) are unfortunately not suitable for cleaning a splint, as they would attack the material in the long term. Instead, there are now special Cleaning tablets for dental appliances with active oxygen. They are intended to remove the deposits and bacteria adhering to the surfaces of the plastic. Alternatively, you can also use so-called Occlusal Splint Cleaner-Sets use.
Extra tip: In fact, even mild hand soap should be an effective remedy against deposits. Apply this to the rail with an old (clean) toothbrush, scrub all corners and edges cleanly and rinse the material under warm water again.
Effective home remedies for bite splints
If you do not agree with the methods already mentioned, there are still tried and tested home remedies that you can use to clean the splint: acetic or citric acid (also known as Cleaning powder available). Dilute them with a little water (at a ratio of 1:5) and soak the anti-crunch aid in them for ten to 15 minutes-depending on the hardness of the deposits. Then wash the splint thoroughly under running water to remove any residue of the acid. After that, the material should dry well before you put it in a suitable Box store.
Extra tip: If the splint spreads an unpleasant smell, although hardly any deposits are visible, you can put them in a chamomile or herbal bath for a few minutes. This does not remove discolouration, but neutralises the formation of odours.
You might also be interested in:
This article contains so-called affiliate links. More information can be found here.


